Showing posts with label sewing. Show all posts

Saturday, July 19, 2014

Retro High Waisted Skirt Tutorial

I have been in a retro clothing sort of mood lately, and decided it was high (get it...haha!) time that I made myself a new skirt.  I went on down to Birch Fabric and picked out some of the organic fabric that they had and started on this great skirt!


Here is what you need for this skirt:

·      2 Yards of Fabric
·      Coordinating thread
·      Scissors
·      Iron and surface for ironing on
·      12in matching zipper
·      Tape measure
·      Sewing machine
·      Needle for hand sewing
·      1 sew on snap

How to make the skirt:

Start with your 2 yards of fabric.


You will be cutting the 2 yards into 2 pieces.  The larger piece will be the body of the skirt, and the smaller the waistband. 

Start with measuring 7 inches into the fabric.  Mark (easiest to do with chalk but could also use masking tape or marker that won’t bleed.)  Cut the 7 inch strip off.  This strip will make a 3 inch (or so) waistband after finished.


Next you need to measure your waist with a tape measure.  If you don’t have a fabric tape measure, use a string and then measure the string. 

NOTE:  This measurement will determine where the gather will sit.  I wanted this to be a nice high waist, so I measured at the smallest part of my waist.

Now that you have measured your waist, make sure to ADD 2 inches for seam allowance (so if your waist is 32, add 2 to make 34 inches.)


So you should now have a strip that is 7 inches wide and your waist+2in long.

Warm up that iron and press the hemline, starting with pressing under ½ inch….


Then another 2 inches for a wide hemline.  Now you can hit the ol’ sewing machine.  Stitch the hem close to the top of the hemline. 

Optional: Do a second top stitch along the bottom of the hem for added interest and detail.

Now fold the skirt body in half with right-sides together and pin.  Make a mark 9 inches from the top of the skirt.  This will be left unstitched foor the zipper.  Stitch at 5/8 inch seam allowance from the bottom of the skirt up to your mark.


Now to gather.  Some newer machines can do this for you.  But not mine, so if you are like me, you will need to hand gather.  This is not difficult, it just takes a little time. 

Baste about ½ inch from the top all along the top of the skirt.


To gather, carefully pull on the top thread until it begins to pucker.  Ease the gather into the skirt and continue in this fashion from both sides until it is the same length as the waistband.


Then pin to waistband with right sides together, easing the gather to be even and match the waist as you pin.  Then stitch together, being careful not to catch the gathers unevenly.


Open back up and press seam allowance toward the waistband.


Now we can put in the zipper!  The easiest way to do a zipper that I have found is like this…

First fold your waistband in half and mark the halfway point.  Open back up, keeping that mark.  It should be just about 3 inches or so. Now baste opening at the back of skirt (that 9 inches you marked off) through waist gathering up to that 3 inch mark.
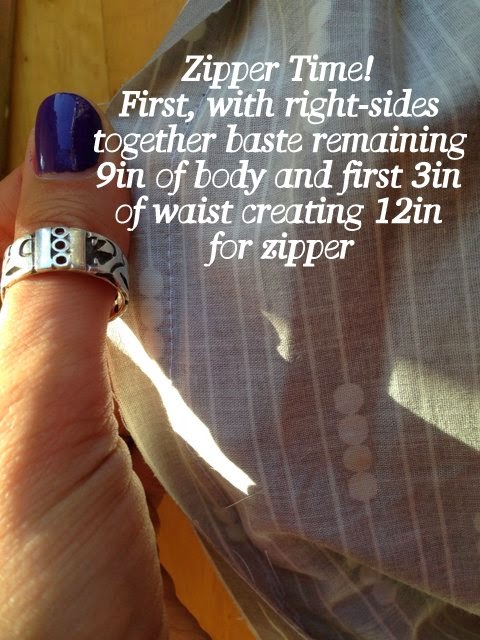


Now pin the zipper down to the basted seam allowance.


Now attach your zipper foot and stitch (if you don’t have one, just get as close as you can to the seam, but go slow.  It might be a little wonky, but I assure you, you are the only one who will notice.)


Zipper done!  Now let’s finish the waistband.

Press under ½ inch on the raw edge.
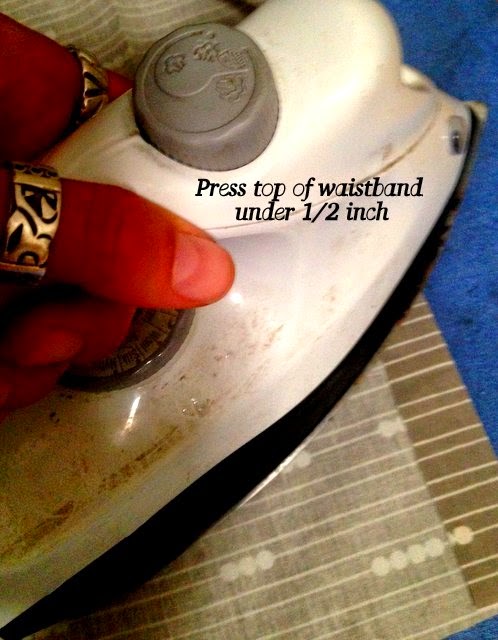


Now fold the waistband in half and press and pin in place.  You will want the ½ inch that you just pressed under to cover the raw edges of the gathered waistband seam allowance so you have a clean edge.


Then stitch close to the seam, and continue all the way around the band, catching the zipper and creating a clean, top stitched edge all the way around.


You have just completed the main part of the skirt!  Yay!  Just one last finishing touch.  A bow.

To make the bow, you will need to cut out a piece from your 7 inch remaining strip. Leave it at 7 inches wide and cut 25 inches long.

Then fold in half hamburger style with the right sides together.  Stitch up the 2 long edges to make a little pillowcase looking block. 


Turn it right side out, and press.


Then press ½ under on the open seam to create a clean edge.  Hand stitch this closed with an invisible stitch.  Not sure how to do that?  Check out this great tutorial at Positively Splendid here.


Next we will cut a smaller strip – this one will be 4 inches wide and 6 inches long.  This will make the center of the bow.  Fold hot dog style (along the long side) and stitch.


Turn this little guy right side out, and press it with the seam at the center back.


Now wrap the little strip around the block you made to create a bow.  Turn under the small strip’s raw edges and pin in place.   Hand sew it into place.


Now you have the big, adorable bow!


Finally, we need to secure it to the back of the skirt.  To do this, center onto the back, and hand tack the left side onto the skirt, catching only the back layer so you don’t see the stitching from the front.  Make sure to secure as well as you can so it won’t rip off.

On the other side of the bow, sew on one side of your snap.


Now try on your skirt.  If yours behaves like mine, the waist was a little looser at the top.  So I placed the other side of the snap a little further in to help cinch it up just a little.


Hand sew it into place and you have finished your awesome skirt.


Now all you have to do is put it on and show it off to all your friends.  Believe me, they will think you are a genius!


Thursday, May 8, 2014

Crafting and starting a biz


 It has been a bit longer (ok...waaay longer....) than I had planned since I last blogged.  But lots of things have been happening!  First, I have been working hard on starting my own business.  It is a consulting group with 2 of my very talented friends.  www.mycconsultants.com


 Together, we are working to help non-profits and small businesses with their online presence, outreach and media and graphic design work.  

Yay! In related news, one of my colleagues and I have already been helping with a couple websites, one of which is for the lovely Bed and Breakfast on the ranch we are stating at.  That website is now up, so if you want to check out a little of what we have been up to and where we are, go to www.theinnatworkfamilyranch.com.


And, of course, I am always crafting!  We needed new curtains to replace the blinds that did not match our little RV home at all.  So over to Birch Fabrics I went, and found the best fabric for them!  I am pretty darn pleased with the outcome.  (Sorry, not the best pic though.)


One of my great friend’s is having a little one, and I just had to make a little cute cardigan for the little man!   I had a ton of fun whipping up this little project.  I think it came out so cute!  I found the pattern here on Ravelry.  I have to thank Linden Down for making such a cute pattern free!


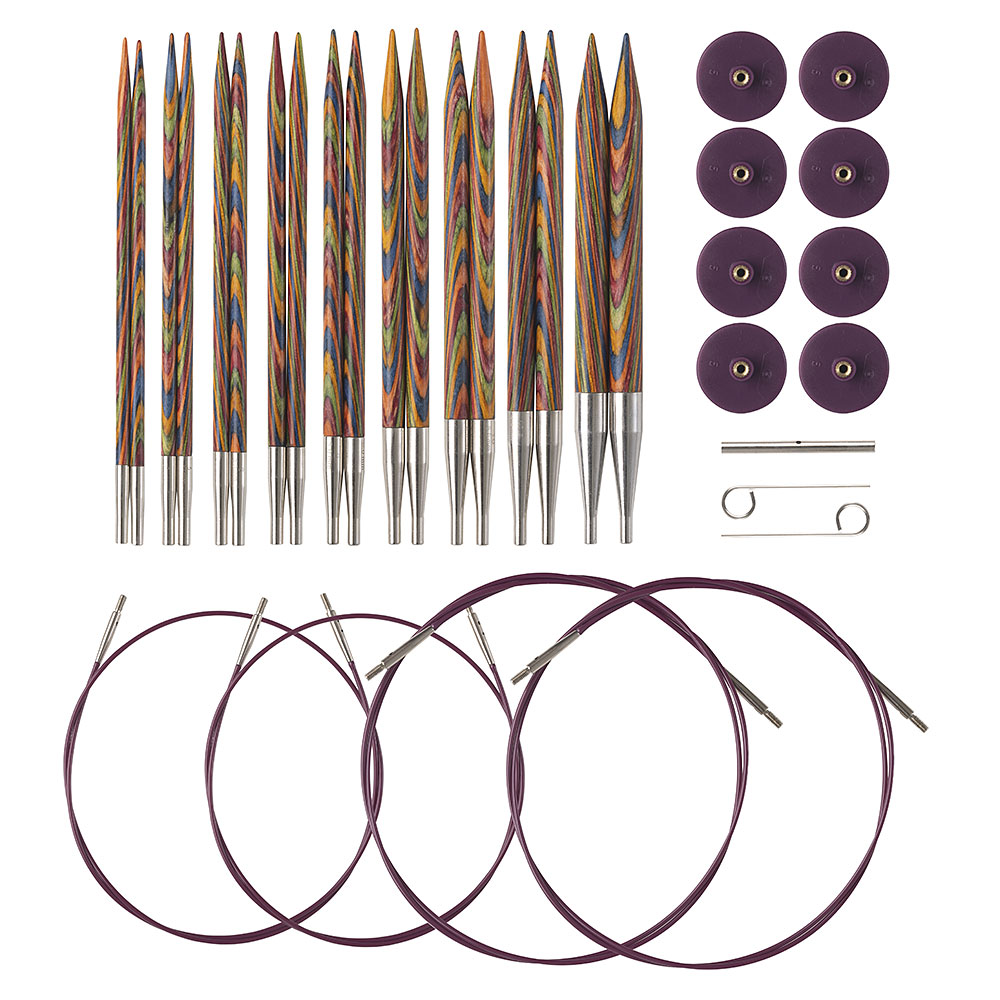
I am also super excited about an upcoming project.  I think I am overly excited for the new knitting needle set I just ordered.  Check these out!  I got them not too long ago and love them!

And with them, I have started this awesome project....


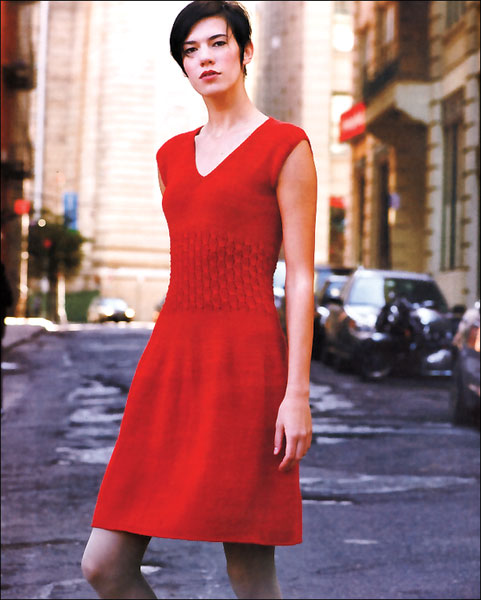
My first knitted dress!  I can’t wait to see how it comes together. It is from Modern Top Down Knitting and I have been kind of working on it in every spare moment I have right now!  I will share the final product soon.  I am knitting it in a turquoise.  

We have been working on all kinds of other things, so more to come soon! (And I promise sooner than this post!)

Ash 


Monday, February 17, 2014

Sewing a wall pocket....a tutorial!

After way too long, I am excited to share with you all a new tutorial!  This time, I will be showing how to make yourself a wall pocket organizer that will look something like this when you are all done!  


I am including instructions on how to make it customized to your space, so you can make this puppy fit any space you need.

Let's get started!  First, you will need to measure the space that you want to have the wall pocket occupy.  The area I wanted was in the bathroom, so it was a very small space.  I decided I wanted mine  to be 25 inches tall and 8 inches wide.


Second, get together your supplies.  You will need the following supplies....


"Hardware" includes some chalk to mark your fabric, scissors, pins, an iron (not pictured) and thread (also not pictured....whoops!)

And you will need some fabric. I found some adorable fabric at Birch Fabric, which is also known as fabricworm.com.  Such adorable stuff!  I am using the flowers as the back piece and the polka dots are the pockets.  

You will also need about 12 inches of ribbon or lace for the loops at the top.  I used some vintage lace I had.


To decide how much you need, use this equation:

Main back piece of fabric:
  • Height of finished project + 1 inch for seam allowance = the vertical measurement
  • Width of finished project + 1 inch for seam allowance = horizontal measurement
  • And enough fabric to cut two each of the above measurements
Example - I wanted mine to be 25 inches tall, so I cut this piece to be 26 inches for 1/2 in seam allowance on all sides.  Then I wanted it to be 8 inches wide, so I cut it at 9 inches.


Pockets Measurements:

Decide the number of pockets you want and how tall and wide you want them.  Then use the following equation to cut them out:
  • Height of finished pocket + 1 & 1/2 inch for seam allowance and upper finished edge = the vertical measurement
  • Width of finished pocket + 1 inch for seam allowance = horizontal measurement
  • And enough fabric to cut the number of pockets you want to have with the above measurements
Example: I wanted my finished pockets to be 7 inches wide (leaving 1/2 in margin on either side of them) so I cut them at 8 inches and I wanted them to be 6 inches tall so I cut them at 7 & 1/2in so I have enough to fold over for the finished top opening part of the pocket

Now that you have all your supplies....

Measure and Cut:

Measure out your fabric and make your cuts.  I use chalk to mark out my measurements on the fabric and cut along my markings.


Cut two of the back panel.


Measure and cut your pockets.


I chose to make 3 pockets.

Mark your pocket seam allowances and press:

Next you will want to mark the seam allowances on 3 of the pocket sides, including the 2 sides and the bottom and press under like this...


For the top of the pocket, you will mark 1/2 inch, just as you have been and press that...


And then you will do that one more time to create a finished edge for the top of your pockets.


Reminder - This is a great time to do an initial press of all your pieces so they lay nice and flat while sewing.  So give them all a little ironing love while it is out.

Next, take one of the back main panels, and evenly pin your pockets to it.  As you might remember, I wanted mine to sit with a 1/2in margin on the sides. 

(This image shows that I have spaced it 1 inch from the edge of the fabric which equals 1/2in seam allowance plus my 1/2in margin.)


Here is the pinned project.

Time to hit the sewing machine!

Now that you have pinned the pockets, you will sew them on.  I chose a contrasting thread color, because it was easier to show, but also adorable!

So load up your thread and start sewing at one upper pocket edge.  You will sew around the 1 side, across the bottom and then finish on the other side.  The top will be left unfinished. (NOTE - I chose to not top stitch the top of the pocket, but if you would like to, you would do this before pinning the pockets on.)


Now that you have sewn all your pockets on, you need to cut 2 pieces of ribbon, each about 6in long.

You will lay then on the right side of your project at the top, loops down toward the pockets and raw edges overlapping the top like this....


(Note - I would suggest the loops be closer to the sides of the project.  While I love how mine came out, when I make more, I think it will hang nicer if I had them closer to 3/4in in from the edge, rather than the 2in I have here.)

You will now want to lay the final back panel piece of fabric right sides together with the pockets like this and start with pinning your ribbon or lace loops by going through all thicknesses of fabric and ribbon.


And then finish by pinning the rest of the way around the project.


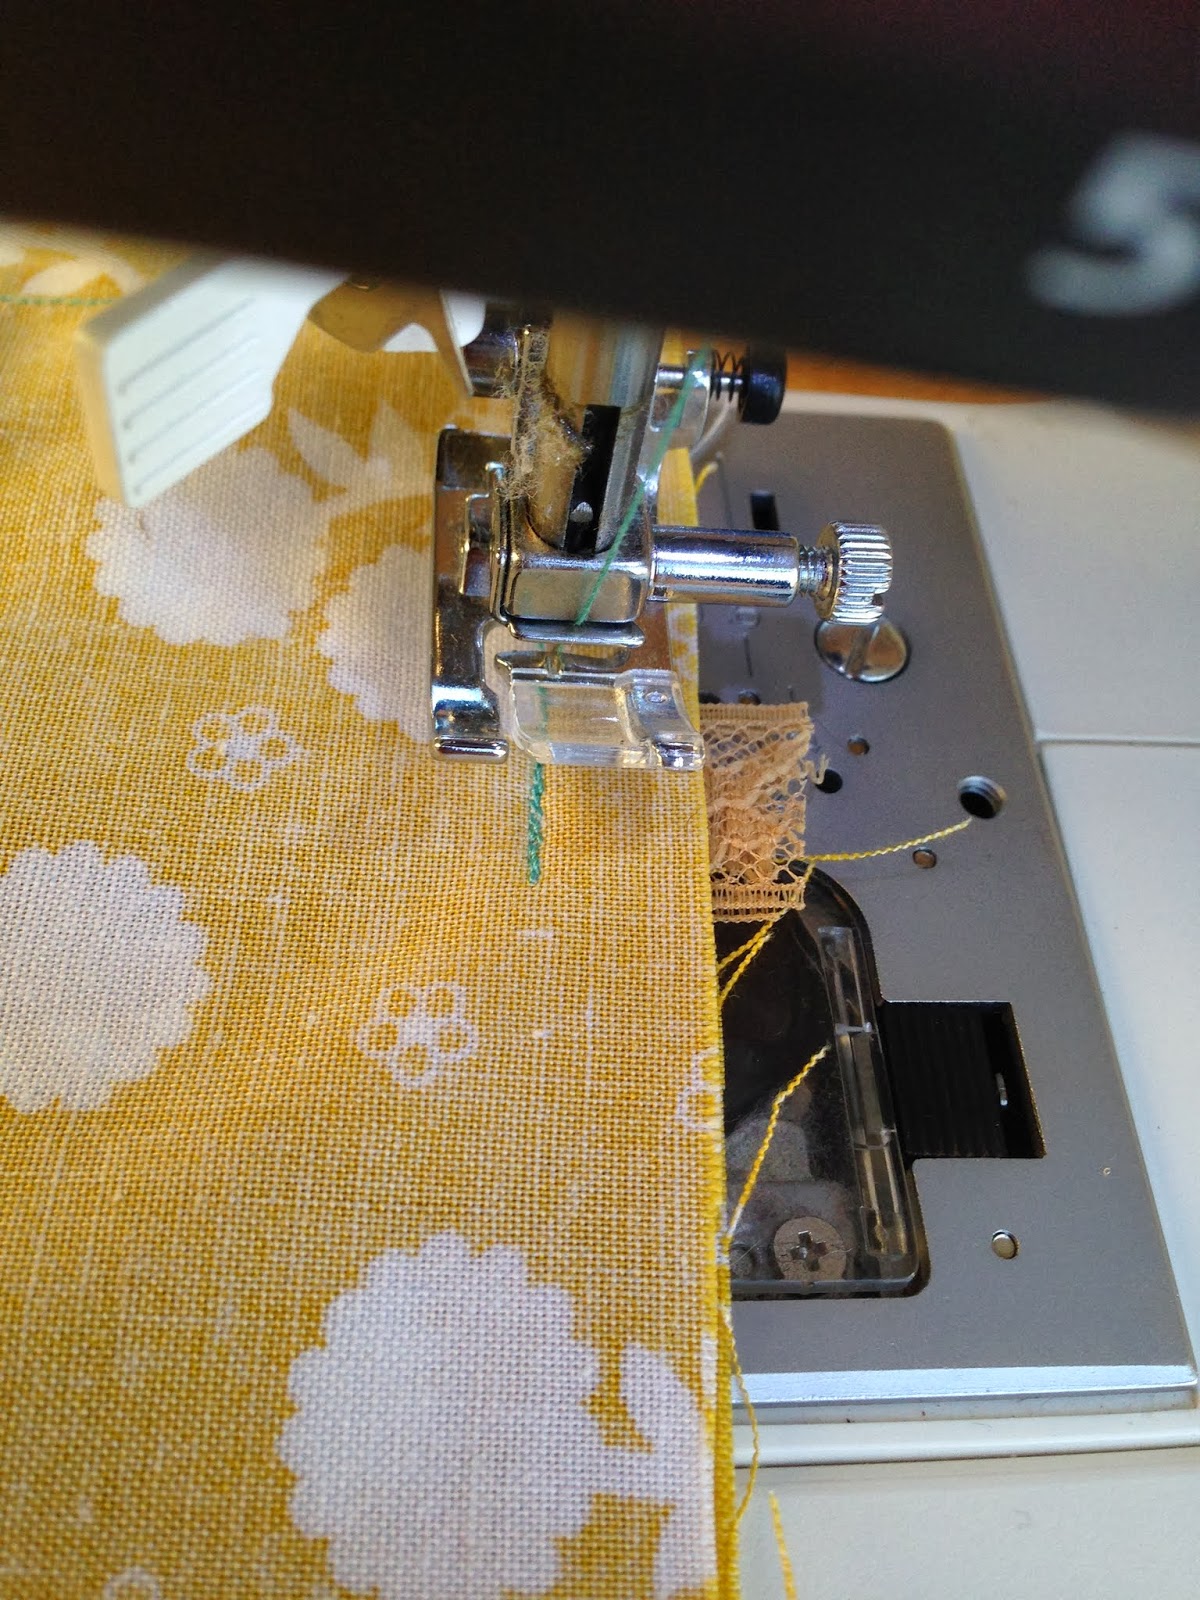
You will now sew this like a pillowcase.  Starting about 2in away from on of the edges at the bottom, sew around the project until you reach the loops of ribbon, where you will make sure to backstitch several time over the ribbon to create a strong seam.  


Continue in this manner until you reach about 2 in from the side on the bottom of the project, backstitch and cut the thread.  You should have an unfinished hole on the bottom of the project for turning that looks like this....


Trim each corner like so...


You're almost done! 

Yay!  Almost there!  Turn your project right side out now and use something to pull the corners out.  I use a pin and carefully pull on the corners, but you could also insert something inside to press them out.


Grab the trusty iron one more time and give the whole thing, especially the edges, a good pressing.


And viola!  Hang up your new masterpiece and enjoy your super cute organizer!  

Let me know what you think or if you have any questions.

Happy sewing!

Ash