After way too long, I am excited to share with you all a new tutorial! This time, I will be showing how to make yourself a wall pocket organizer that will look something like this when you are all done!

I am including instructions on how to make it customized to your space, so you can make this puppy fit any space you need.
Let's get started! First, you will need to measure the space that you want to have the wall pocket occupy. The area I wanted was in the bathroom, so it was a very small space. I decided I wanted mine to be 25 inches tall and 8 inches wide.
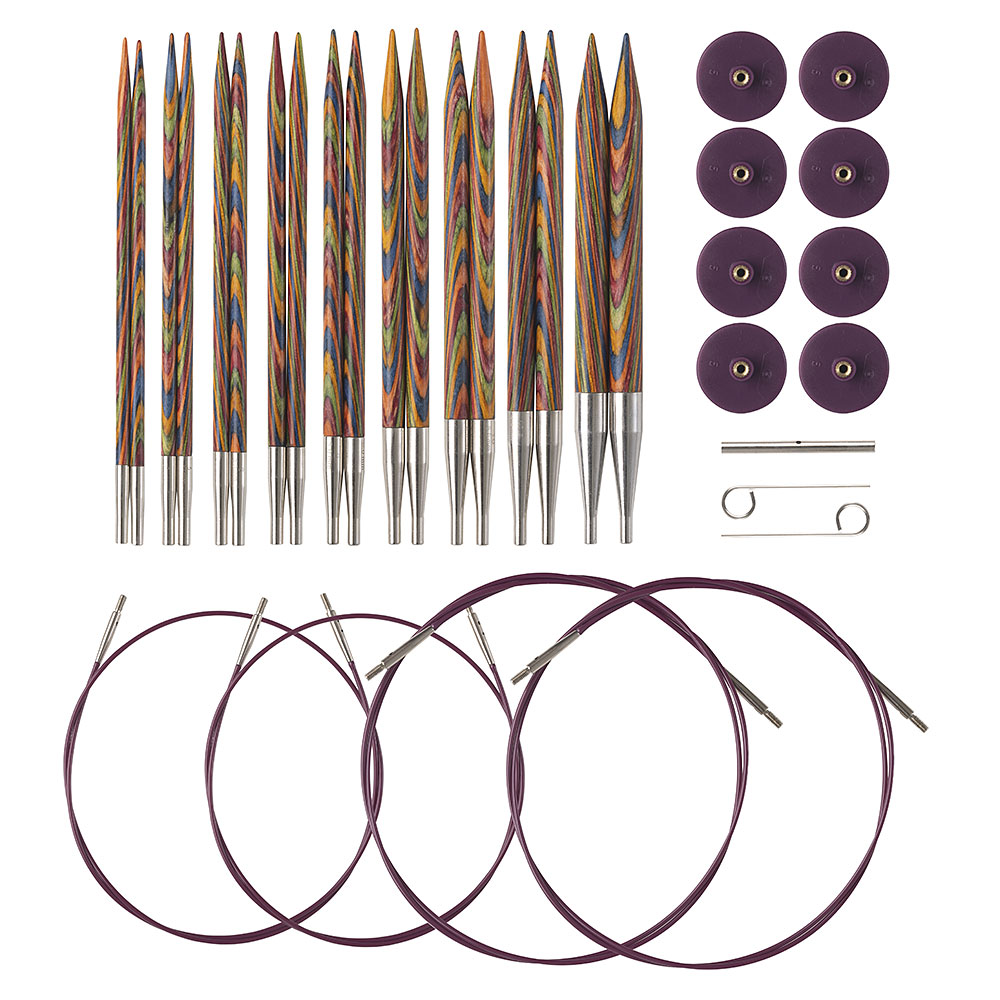
Second, get together your supplies. You will need the following supplies....
"Hardware" includes some chalk to mark your fabric, scissors, pins, an iron (not pictured) and thread (also not pictured....whoops!)
And you will need some fabric. I found some adorable fabric at Birch Fabric, which is also known as fabricworm.com. Such adorable stuff! I am using the flowers as the back piece and the polka dots are the pockets.
You will also need about 12 inches of ribbon or lace for the loops at the top. I used some vintage lace I had.
To decide how much you need, use this equation:
Main back piece of fabric:
- Height of finished project + 1 inch for seam allowance = the vertical measurement
- Width of finished project + 1 inch for seam allowance = horizontal measurement
- And enough fabric to cut two each of the above measurements
Example - I wanted mine to be 25 inches tall, so I cut this piece to be 26 inches for 1/2 in seam allowance on all sides. Then I wanted it to be 8 inches wide, so I cut it at 9 inches.
Pockets Measurements:
Decide the number of pockets you want and how tall and wide you want them. Then use the following equation to cut them out:
- Height of finished pocket + 1 & 1/2 inch for seam allowance and upper finished edge = the vertical measurement
- Width of finished pocket + 1 inch for seam allowance = horizontal measurement
- And enough fabric to cut the number of pockets you want to have with the above measurements
Example: I wanted my finished pockets to be 7 inches wide (leaving 1/2 in margin on either side of them) so I cut them at 8 inches and I wanted them to be 6 inches tall so I cut them at 7 & 1/2in so I have enough to fold over for the finished top opening part of the pocket
Now that you have all your supplies....
Measure out your fabric and make your cuts. I use chalk to mark out my measurements on the fabric and cut along my markings.
Cut two of the back panel.
Measure and cut your pockets.
I chose to make 3 pockets.
Mark your pocket seam allowances and press:
Next you will want to mark the seam allowances on 3 of the pocket sides, including the 2 sides and the bottom and press under like this...
For the top of the pocket, you will mark 1/2 inch, just as you have been and press that...
And then you will do that one more time to create a finished edge for the top of your pockets.
Reminder - This is a great time to do an initial press of all your pieces so they lay nice and flat while sewing. So give them all a little ironing love while it is out.
Next, take one of the back main panels, and evenly pin your pockets to it. As you might remember, I wanted mine to sit with a 1/2in margin on the sides.
(This image shows that I have spaced it 1 inch from the edge of the fabric which equals 1/2in seam allowance plus my 1/2in margin.)
Here is the pinned project.
Time to hit the sewing machine!
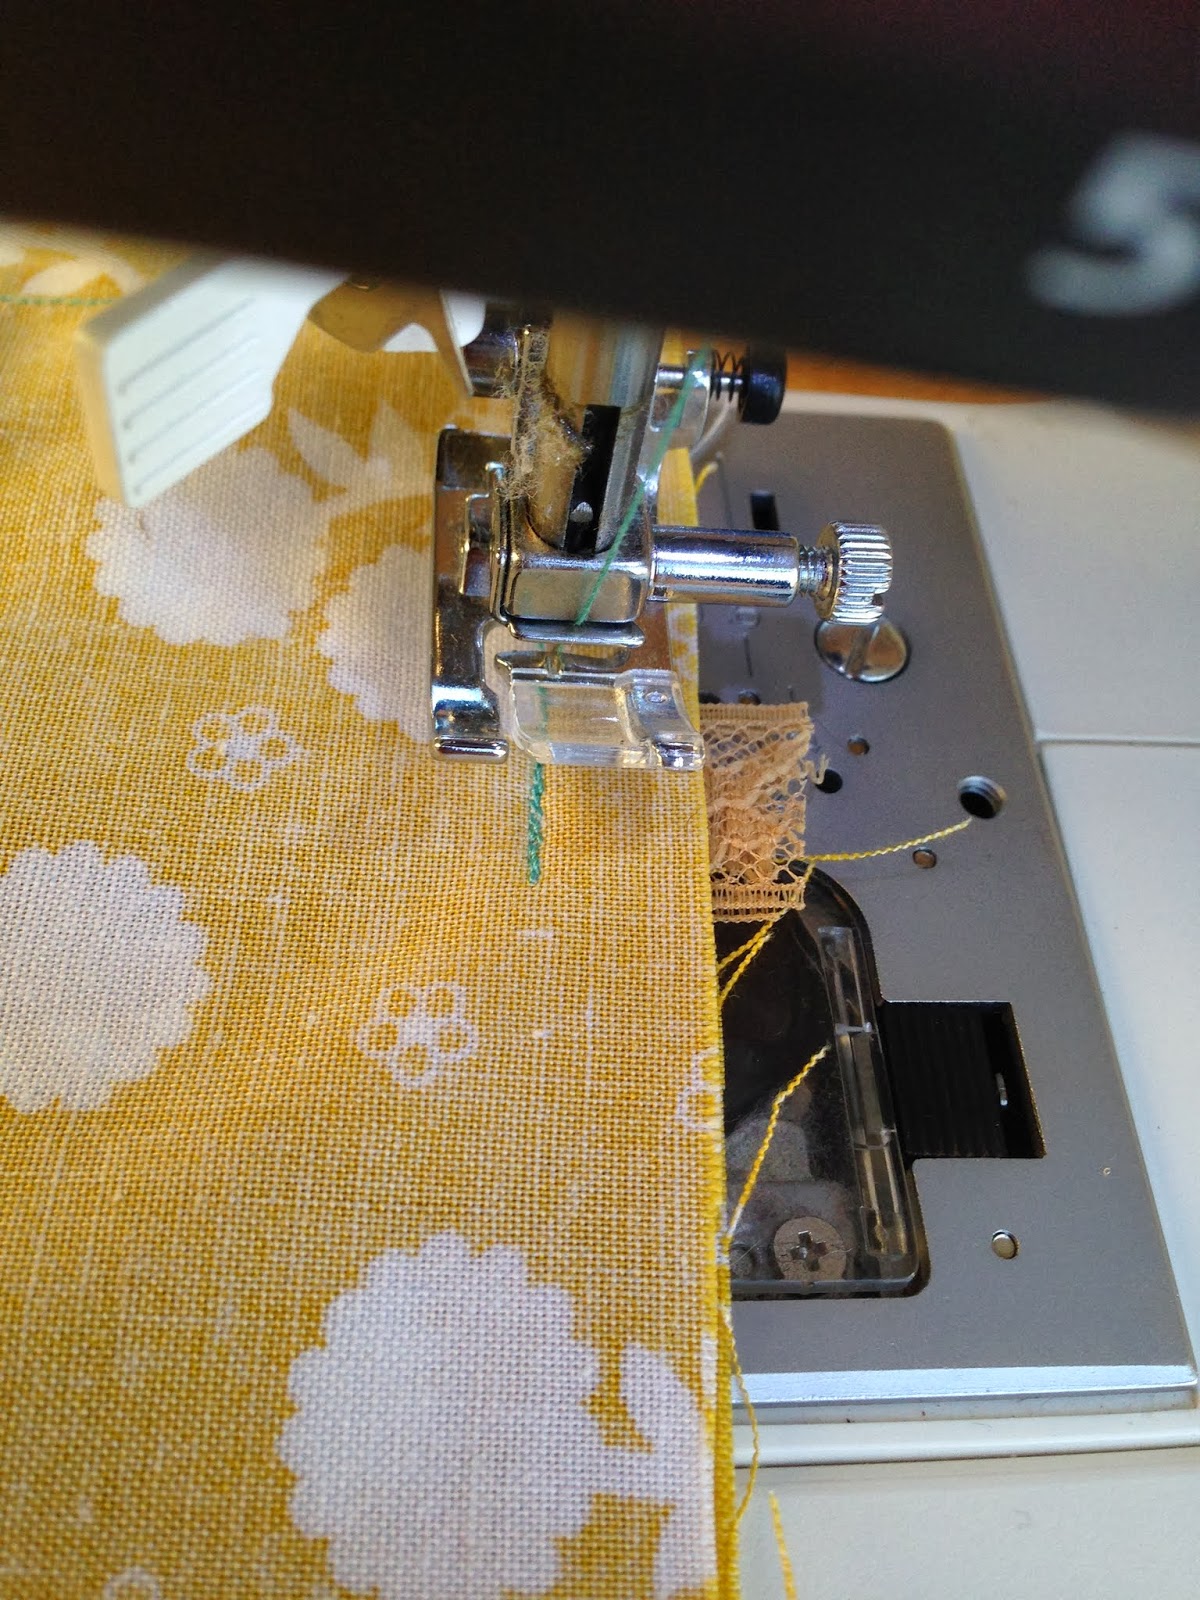
Now that you have pinned the pockets, you will sew them on. I chose a contrasting thread color, because it was easier to show, but also adorable!
So load up your thread and start sewing at one upper pocket edge. You will sew around the 1 side, across the bottom and then finish on the other side. The top will be left unfinished. (NOTE - I chose to not top stitch the top of the pocket, but if you would like to, you would do this before pinning the pockets on.)
Now that you have sewn all your pockets on, you need to cut 2 pieces of ribbon, each about 6in long.
You will lay then on the right side of your project at the top, loops down toward the pockets and raw edges overlapping the top like this....
(Note - I would suggest the loops be closer to the sides of the project. While I love how mine came out, when I make more, I think it will hang nicer if I had them closer to 3/4in in from the edge, rather than the 2in I have here.)
You will now want to lay the final back panel piece of fabric right sides together with the pockets like this and start with pinning your ribbon or lace loops by going through all thicknesses of fabric and ribbon.
And then finish by pinning the rest of the way around the project.
You will now sew this like a pillowcase. Starting about 2in away from on of the edges at the bottom, sew around the project until you reach the loops of ribbon, where you will make sure to backstitch several time over the ribbon to create a strong seam.
Continue in this manner until you reach about 2 in from the side on the bottom of the project, backstitch and cut the thread. You should have an unfinished hole on the bottom of the project for turning that looks like this....
Trim each corner like so...
You're almost done!
Yay! Almost there! Turn your project right side out now and use something to pull the corners out. I use a pin and carefully pull on the corners, but you could also insert something inside to press them out.
Grab the trusty iron one more time and give the whole thing, especially the edges, a good pressing.
And viola! Hang up your new masterpiece and enjoy your super cute organizer!
Let me know what you think or if you have any questions.
Happy sewing!
Ash