Hi all! So, so very sorry for being away for so very long! But I have big news! Hubby and I have begun our new adventure into self employment! We would happily like to introduce you all to Fiberton Acres Ranch and Manor!
It is here that I will now be posting....alas, while I may occasionally post here, I would like to encourage you all to check us out and follow over at Fiberton.
What is this new biz, you may be asking? Well, let me tell you! Fiberton Acres is our tiny 'ranch and manor', which is busy year round creating quality goods that you will be proud to own. Our philosophy is to do good for our earth and the people on it, and have fun while doing it. That is why you'll find a mix of yarncrafting goods, as well as farmy, funky, upcycled and nerdy items. We hope you enjoy it as much as we do!
We have our angora rabbits, our fun little farm, our bright, Central Cali sun, and yarn crafty goods galore!
If you check out our blog, be sure to sign up to receive our email updates!
Thanks from both of us and hope to see you there!
Ash
Showing posts with label Craft Escipades. Show all posts
Showing posts with label Craft Escipades. Show all posts
Sunday, April 19, 2015
Saturday, July 19, 2014
Retro High Waisted Skirt Tutorial
I have been in a retro clothing sort of mood lately, and decided it was high (get it...haha!) time that I made myself a new skirt. I went on down to Birch Fabric and picked out some of the organic fabric that they had and started on this great skirt!
Here is what you need for this skirt:
· 2 Yards of Fabric
· Coordinating thread
· Scissors
· Iron and surface for ironing on
· 12in matching zipper
· Tape measure
· Sewing machine
· Needle for hand sewing
· 1 sew on snap
How to make the skirt:
Start with your 2 yards of
fabric.
You will be cutting the 2
yards into 2 pieces. The larger piece
will be the body of the skirt, and the smaller the waistband.
Start with measuring 7 inches
into the fabric. Mark (easiest to do
with chalk but could also use masking tape or marker that won’t bleed.) Cut the 7 inch strip off. This strip will make a 3 inch (or so)
waistband after finished.
Next you need to measure your
waist with a tape measure. If you don’t
have a fabric tape measure, use a string and then measure the string.
NOTE: This measurement will determine where the
gather will sit. I wanted this to be a
nice high waist, so I measured at the smallest part of my waist.
Now that you have measured
your waist, make sure to ADD 2 inches for seam allowance (so if your waist is
32, add 2 to make 34 inches.)
So you should now have a
strip that is 7 inches wide and your waist+2in long.
Warm up that iron and press
the hemline, starting with pressing under ½ inch….
Then another 2 inches for a
wide hemline. Now you can hit the ol’
sewing machine. Stitch the hem close to the top of the hemline.
Optional: Do a second top
stitch along the bottom of the hem for added interest and detail.
Now fold the skirt body in
half with right-sides together and pin.
Make a mark 9 inches from the top of the skirt. This will be left unstitched foor the
zipper. Stitch at 5/8 inch seam
allowance from the bottom of the skirt up to your mark.
Now to gather. Some newer machines can do this for you. But not mine, so if you are like me, you will
need to hand gather. This is not difficult,
it just takes a little time.
Baste about
½ inch from the top all along the top of the skirt.
To gather, carefully pull on
the top thread until it begins to pucker.
Ease the gather into the skirt and continue in this fashion from both
sides until it is the same length as the waistband.
Then pin to waistband with
right sides together, easing the gather to be even and match the waist as you
pin. Then stitch together, being careful not to catch the gathers unevenly.
Open back up and press seam
allowance toward the waistband.
Now we can put in the
zipper! The easiest way to do a zipper
that I have found is like this…
First fold your waistband in
half and mark the halfway point. Open
back up, keeping that mark. It should be
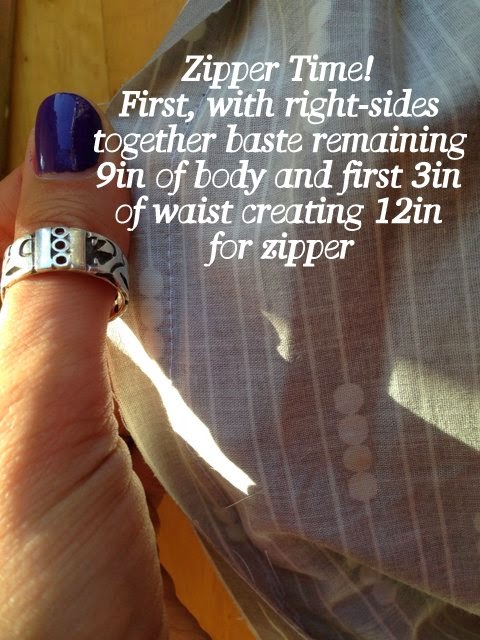
just about 3 inches or so. Now baste
opening at the back of skirt (that 9 inches you marked off) through waist
gathering up to that 3 inch mark.
Now pin the zipper down to
the basted seam allowance.
Now attach your zipper foot
and stitch (if you don’t have one, just get as close as you can to the seam,
but go slow. It might be a little wonky,
but I assure you, you are the only one who will notice.)
Zipper done! Now let’s finish the waistband.
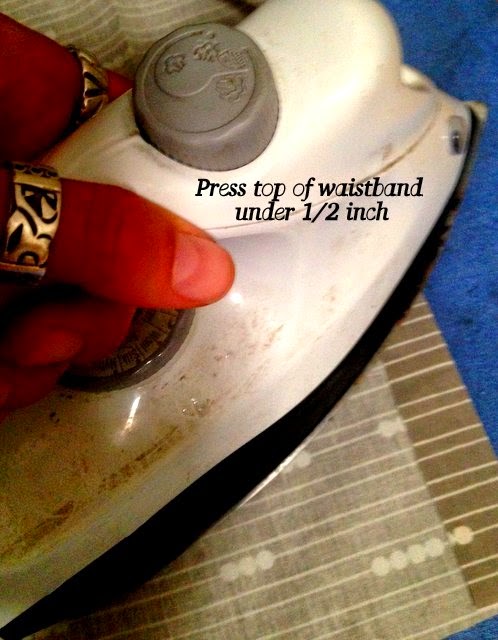
Press under ½ inch on the raw
edge.
Now fold the waistband in
half and press and pin in place. You will
want the ½ inch that you just pressed under to cover the raw edges of the
gathered waistband seam allowance so you have a clean edge.
Then stitch close to the
seam, and continue all the way around the band, catching the zipper and
creating a clean, top stitched edge all the way around.
You have just completed the
main part of the skirt! Yay! Just one last finishing touch. A bow.
To make the bow, you will
need to cut out a piece from your 7 inch remaining strip. Leave it at 7 inches
wide and cut 25 inches long.
Then fold in half hamburger
style with the right sides together.
Stitch up the 2 long edges to make a little pillowcase looking
block.
Turn it right side out, and
press.
Then press ½ under on the
open seam to create a clean edge. Hand
stitch this closed with an invisible stitch.
Not sure how to do that? Check
out this great tutorial at Positively Splendid here.
Next we will cut a smaller
strip – this one will be 4 inches wide and 6 inches long. This will make the center of the bow. Fold hot dog style (along the long side) and
stitch.
Turn this little guy right
side out, and press it with the seam at the center back.
Now wrap the little strip
around the block you made to create a bow.
Turn under the small strip’s raw edges and pin in place. Hand sew it into place.
Now you have the big,
adorable bow!
Finally, we need to secure it
to the back of the skirt. To do this,
center onto the back, and hand tack the left side onto the skirt, catching only
the back layer so you don’t see the stitching from the front. Make sure to secure as well as you can so it
won’t rip off.
On the other side of the bow,
sew on one side of your snap.
Now try on your skirt. If yours behaves like mine, the waist was a
little looser at the top. So I placed
the other side of the snap a little further in to help cinch it up just a
little.
Hand sew it into place and
you have finished your awesome skirt.
Now all you have to do is put
it on and show it off to all your friends.
Believe me, they will think you are a genius!
Labels:
craft,
Craft Escipades,
high waisted skirt,
retro,
retro skirt,
sewing,
skirt tutorial,
tutorial
Monday, June 23, 2014
I knitted a dress....
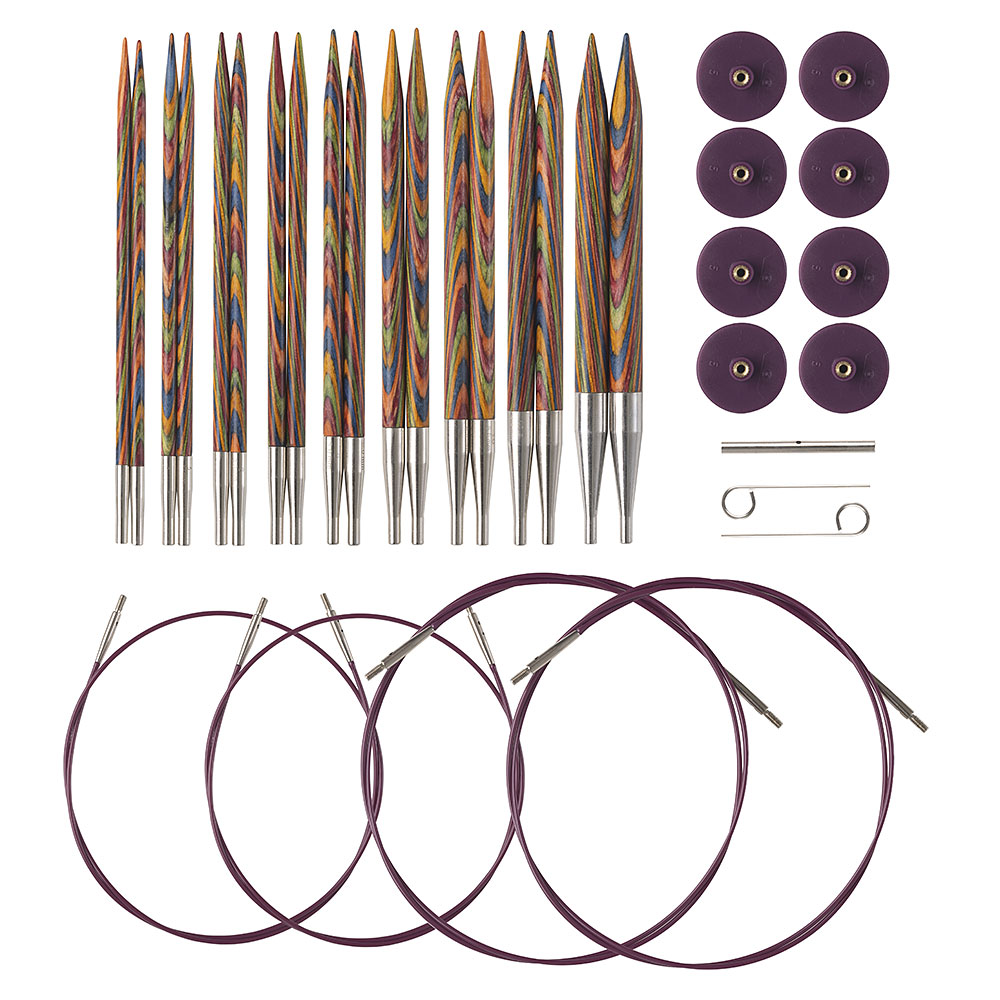
I did! Remember when I mentioned I got these awesome new circular needles....
And was going to make this dress...
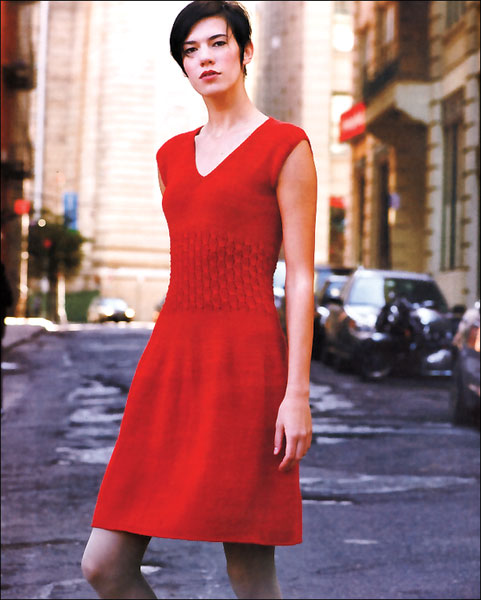
I did it! It is from Modern Top Down Knitting, and I love how it came out. I didn't take as many pics as I should have of the process, but I recently wore it out to the big Farmer's Market in San Luis Obispo and got lots of great compliments.
Here is a pic of me there in my awesome new dress....
And now I want to make more! It was actually a first in many areas, first dress I have knit, first piece this large really, first top down piece and first smocking. Yet, it was very well explained and not a hard project. I loved not having to do any seam work because of the top down knitting. I definitely recommend trying this one.
But before I can more for me, I promised that I would make the hubby a new knit vest. This will be my first intarsia piece, so I am excited about that! (Just knocking out all the firsts this year with my knitting!)
It is from Son of a Stitch 'n Bitch and has anchors on it....
Should be pretty cute!
What do you have on your hooks and needles?
Ash
Tuesday, February 25, 2014
Little things that make me smile...
Thought I would share with you a few of the little things that have made me smile lately...
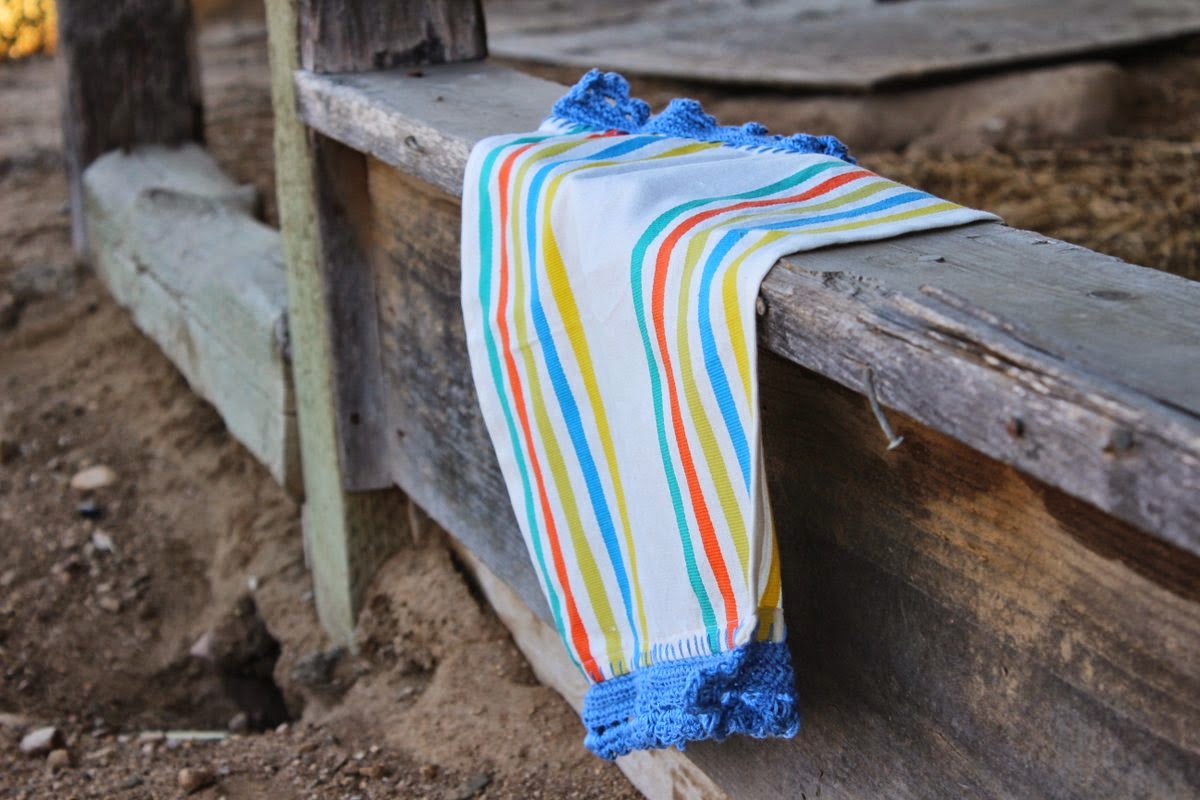
Fun colors on my cast iron. I made up these little handle covers for my cast iron to protect the fingers. And to look adorable.
Baby goats! Two of the resident goats at the ranch had themselves some babies. I can't wait until we have our own goats that have babies!
Exploring the area. With a little bit of rain (and hopefully a little more this weekend) we have just a little touch of green here. And it makes for pretty exploring in the sun. (I am currently wearing a skirt and no shoes. I am loving it!)
My mom and I down by a naturally occurring spring bed.
Walking with the doggy.
View from our place on a foggy morning.
Pretty views.
Ric and JB at the beach of Morro Bay.
Making fun things from things discarded. I realized that with my hubby working at a little fabric store, they get rid of a lot of cardboard. I have begun creating little shelves and stuff from the cardboard bolts and having so much fun with it!
And finally, seeing the cute little creations that Rocketpack Crafts come up with! How cute are these bows?
And this working clock?
So cute!
Little fun things that have made me smile. :) Hope they make you smile, too!
Ash
Labels:
baby goats,
Craft Escipades,
crafting,
crochet,
goats,
my crazy life :),
smile
Subscribe to:
Posts (Atom)


